How to Upload an Image Onto Gimp
Today I'll show a couple of means to slice up your images into smaller portions, one that doesn't require whatever plugins and one that need you to download a script.
The following tutorial uses the default settings for GIMP, just like a fresh installation with no previous installations that might have retained some of your quondam settings.
The GIMP Version is 2.ten.12 (works as well on the 2.10.fourteen)
The Manual Fashion
Slicing the image manually can be actually piece of work intensive, depending how many parts you lot desire to slice your image to and is by no means an efficient way to practise information technology, but volition suffice for anyone who wishes to split their prototype to 4 10 4 tiles or less.
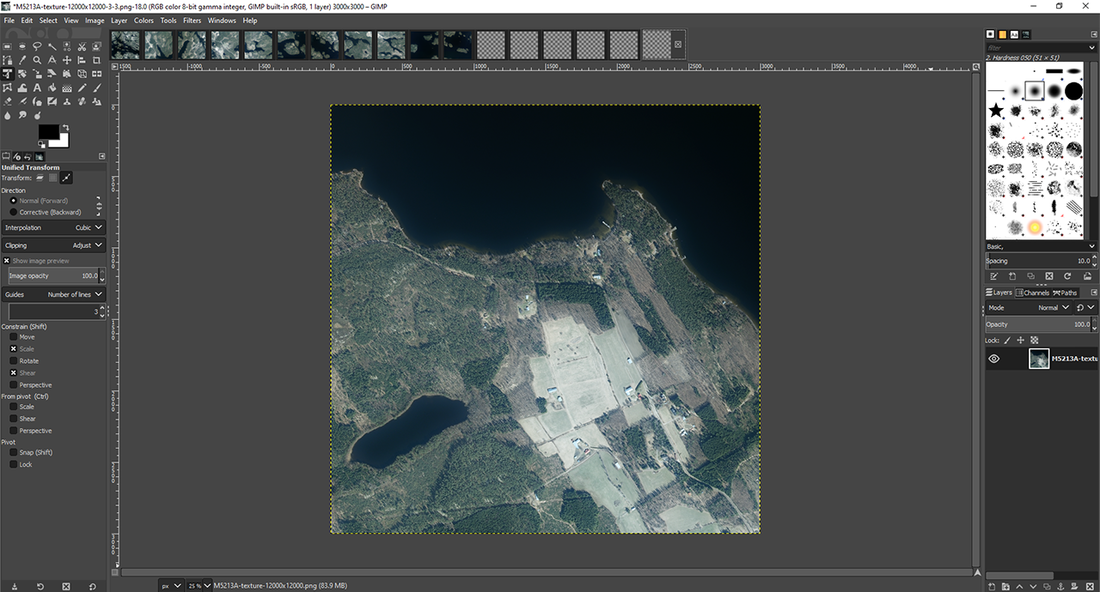
ane. When y'all have loaded upward the prototype you want to slice into smaller pieces, go to image > Guides > New Guide...
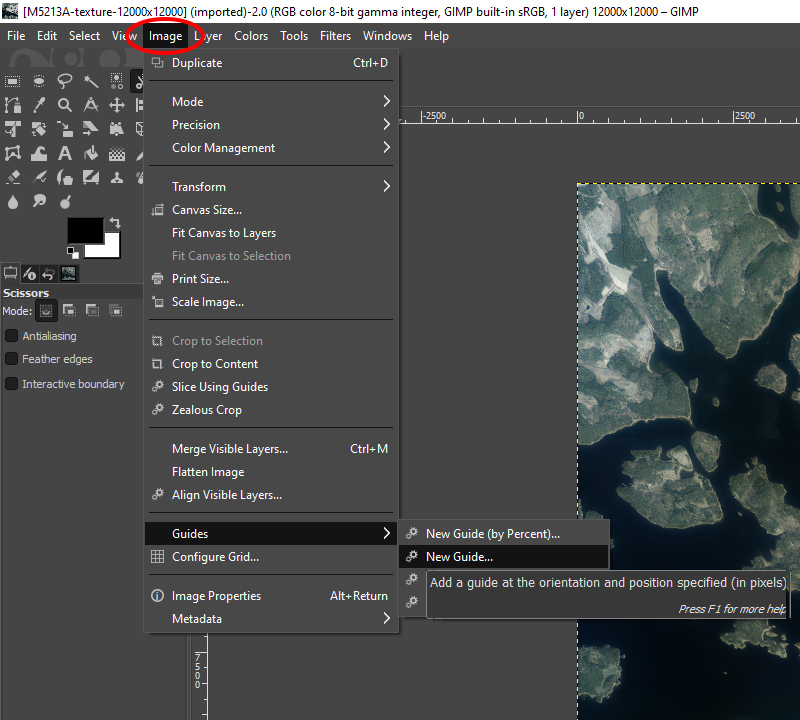
2.a When you click on the "New Guide..." the following box appears.
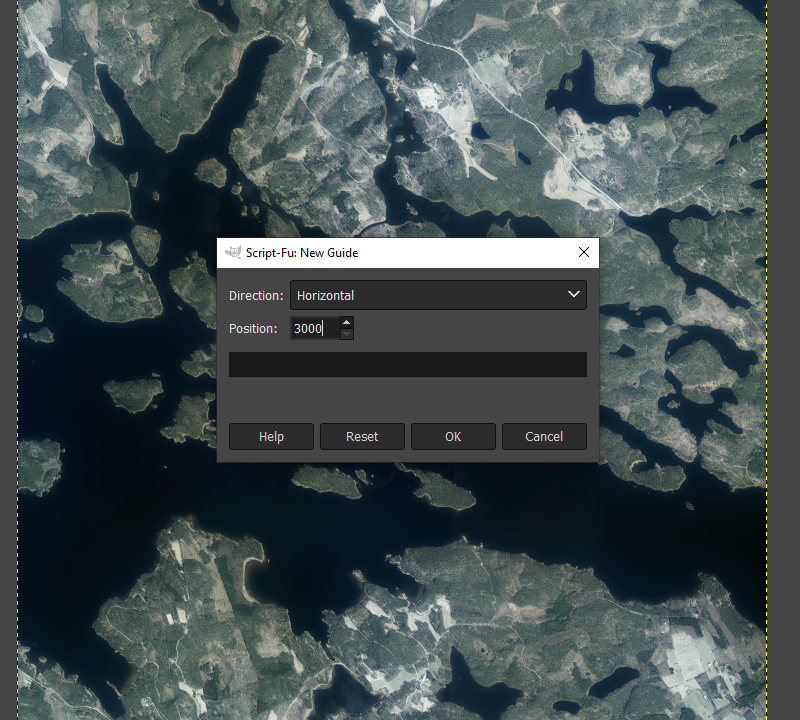
2.b Now you have to do some math and dissever your image into as many parts equally y'all desire. You have to do this both horizontally and vertically every bit many times as you need guides. For this tutorial I'll make the image into 4 10 4 tiles, meaning 3000x3000 pixels in size, as per 12000 / 4 = 3000 - this means that I demand to space all the guides 3000 pixels apart from each other, adding 3000 to each position.
i.e. the first guide to 3000, the second guide to 6000, and the tertiary guide to 9000.
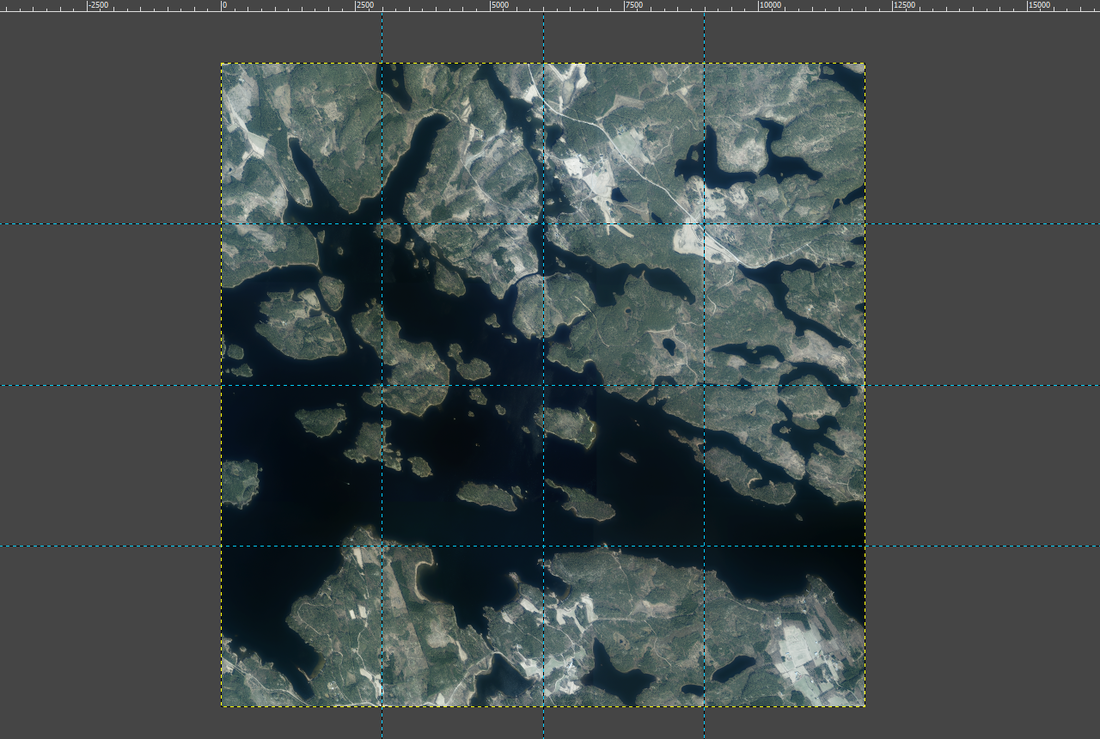
3. After you have added your guides, your image should look similar this;
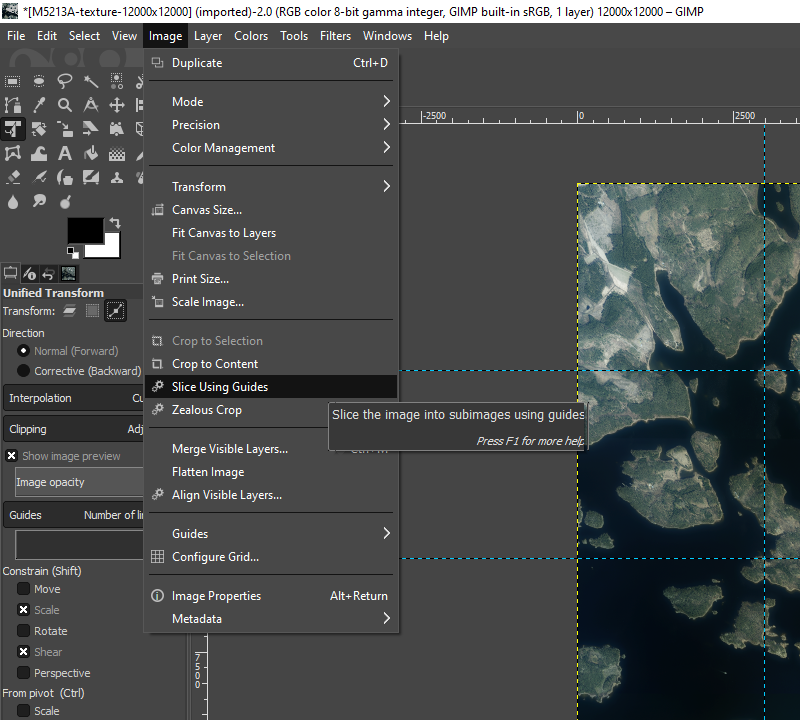
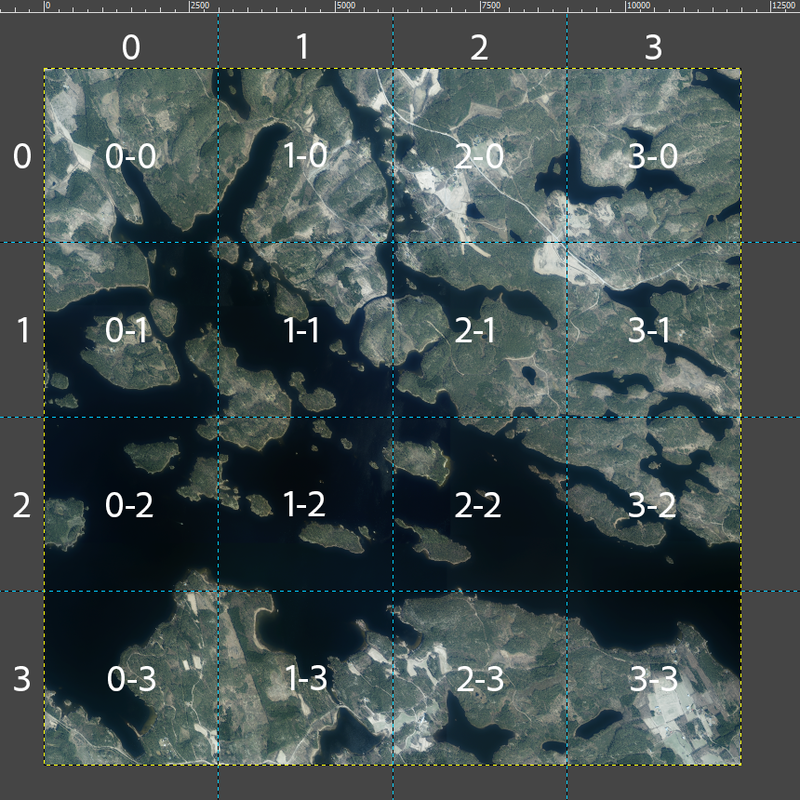
iv. Go to Image > Slice Using Guides - Click it and GIMP volition divide the image for you into separate images and switch your view to the terminal piece. The original image will still exist intact.
GIMP will utilize the same filename that your original file has, but add to the row and cavalcade number to the end of the name, similar seen in the in a higher place image filename, on the tiptop right corner.
Original filename in this example is; M5213A-texture-12000x12000.png
The terminal piece has an addition at the end of it; M5213A-texture-12000x12000-three-3.png
The beneath image showcases how GIMP organizes the tiles. Start number represents the Column and the second number represents the Row;
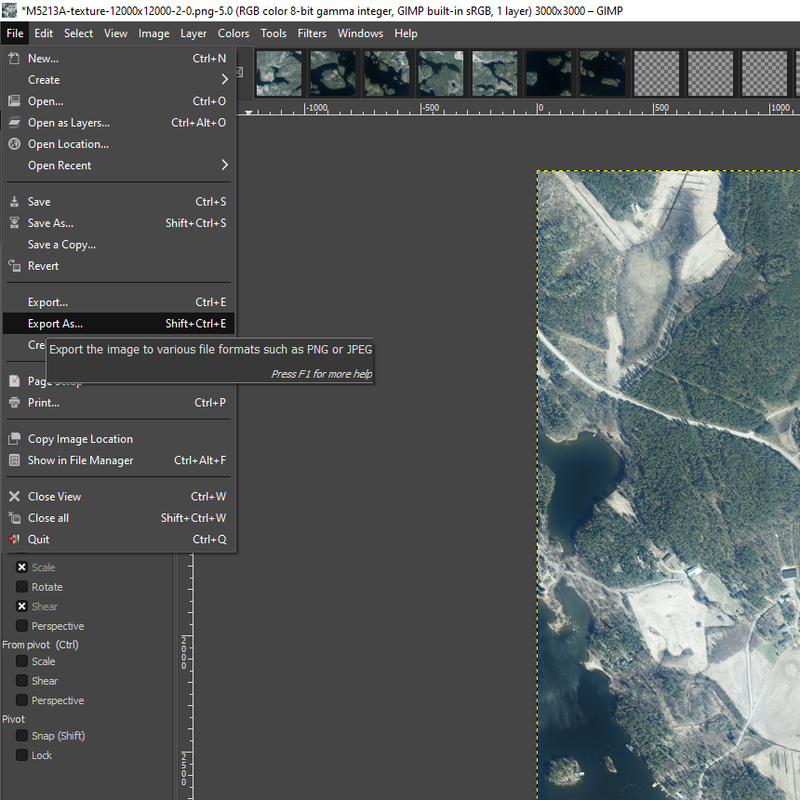
5. Salve each image separately, by going to File > Export As... (or using shortcut of Shift + CTRL + Eastward). The file extension is the aforementioned as the original file's, so no need to alter any setting when saving the files. The default export path is the one that the original image resides in, so you may want to create a new binder for the epitome slices.
In that location is likewise several plugins that helps with saving multiple tabs in GIMP.
The Much More Automated Method
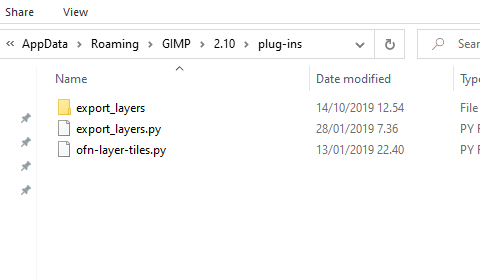
1. Get-go, download these plug-ins;
- ofn-layer-tiles
- Export Layer
2. Install both plugins into C:\Users\"Your-Username"\AppData\Roaming\GIMP\two.10\plug-ins
Annotation that the "2.10" folder is the version of the GIMP you have installed and will alter later on each update that changes the first or second version number.
At present your plug-ins folder should have these files.
iii. Afterwards opening GIMP and your image file, remove the ".png" from your layer proper noun. This will ensure that the "Consign Layers" plugin names the layers correctly. Alternatively, y'all can delete the "{layername}-" portion from the control line, so that the layers are named but based on row and column number. More on that on the step v.
4. Get to Layers > Tiles > Divide tiles (by rows and columns)...
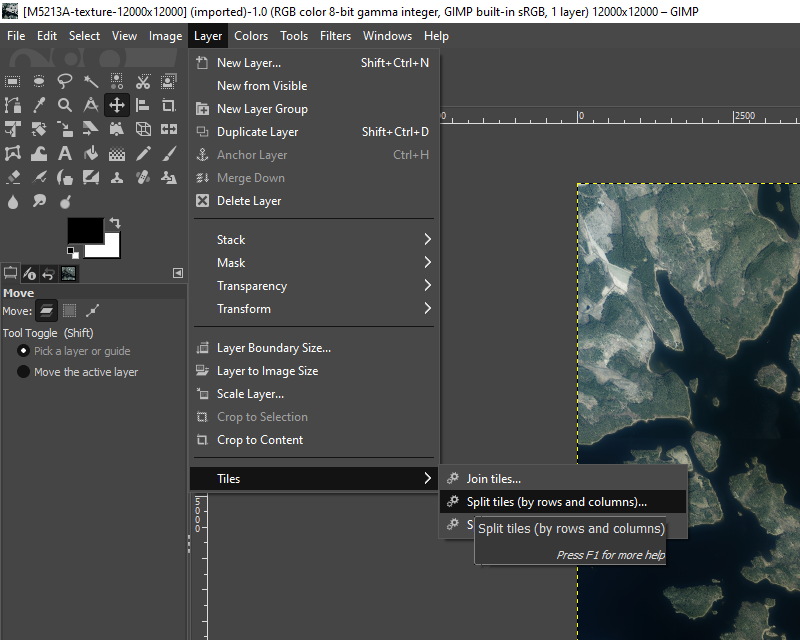
5. Choose how many rows and columns you desire, no need to change other settings, unless y'all want to specify dissimilar naming schemes. Read the plugin instructions for more than data on that.
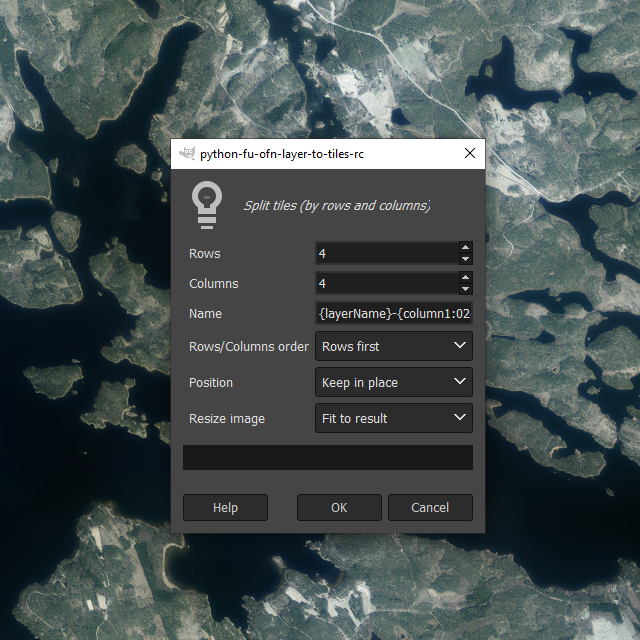
For the purpose of this tutorial, I will exist splitting the image into 4 x 4 tiles, but similar before.
By default, the slicing procedure named the files with the same logic every bit GIMP, the offset number represent the Column and the 2nd one is the ROW. The but difference is, that the plugin starts the numbering from 01 instead of 00, that GIMP starts from.
This can exist changed in the settings how ever, if this is important to you. To brand the numbering starting time from 0, change "{column1:02d}-{row1:02d}" to "{column0:02d}-{row0:02d}".
6. Printing the "OK" button and the plugin volition modify the paradigm into separate layers.
vii. Go to File > Consign Layers...
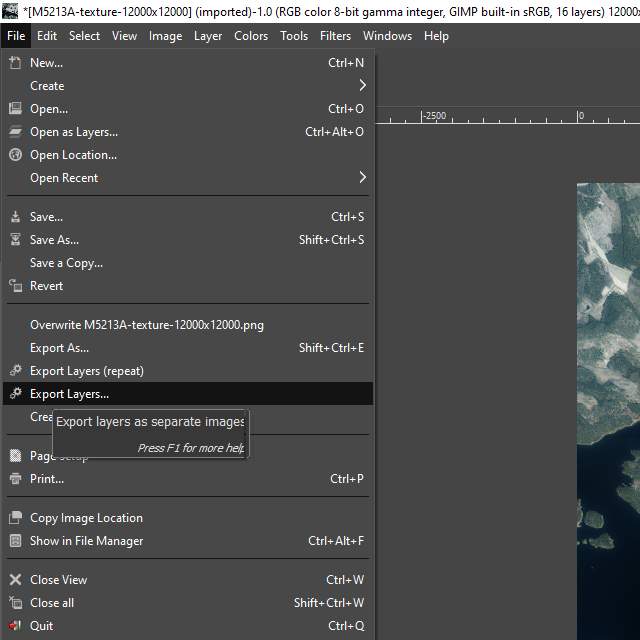
Choose the binder you would like to save the images to and your preferred file format. Subsequently you are washed, click "Consign". The Plugin will salve each layer as a file and depending on the size of your original file, this could have some time.
Conclusion
For my needs, these plug-ins are gems. I'one thousand just surprised how come up GIMP does non include these kind of functionalities out of the box. Only then over again, open source programs tend to rely more than on community to add more than functionality to the cadre program in the form of plug-ins and scripts. One thing that should be a out-of-the-box functionality, is the "Save All" option for saving all open documents easily and fast.
Promise this was of use to yous.
You can check out every possible mid week announcements about the Projection Taival on these official channels;
• YouTube • Facebook • Twitter • Discord • Reddit • Pinterest • SoundCloud • LinkedIn •
Source: https://www.gamedev.net/tutorials/visual-arts/slicing-images-using-gimp-the-manual-and-semi-automatical-way-r5257/
Post a Comment for "How to Upload an Image Onto Gimp"